Source: Link Testing Instruments Co., Ltd
Today, the majority of tires are pneumatic inflatable structures, comprising a doughnut-shaped body of cords and wires encased in rubber and generally filled with compressed air to form an inflatable cushion. Pneumatic tires are used on many types of vehicles, including cars, bicycles, motorcycles, buses, trucks, heavy equipment, and aircraft.
Most bicycle tires, many motorcycle tires, and many tires for large vehicles such as buses, heavy trucks, and tractors are designed for use with inner tubes. Inner tubes are torus-shaped balloons made from an impermeable material, such as soft, elastic synthetic rubber, to prevent air leakage. The inner tubes are inserted into the tire and inflated to retain air pressure.
Generally speaking, the inner tubes should be of low air permeability so that the air pressure inside can be maintained properly and the tire can keep stable in shape and performance. This article provides a simplified testing procedure for air permeability test of the inner tubes for automotive tires for your reference.
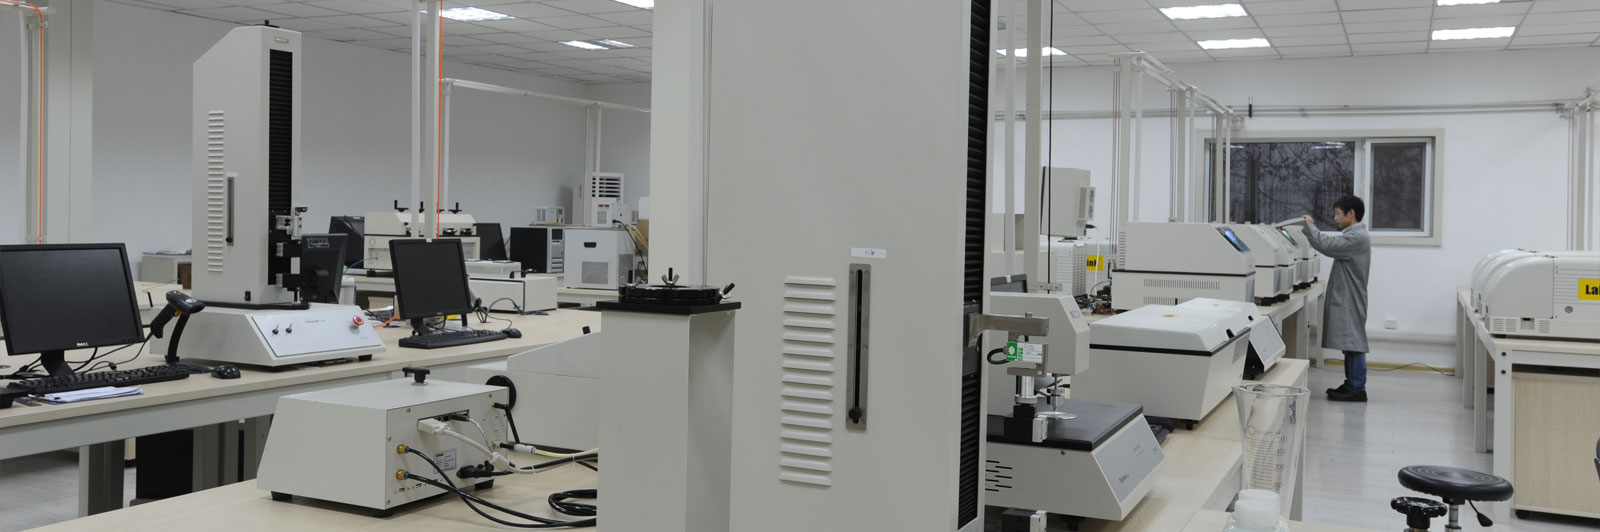
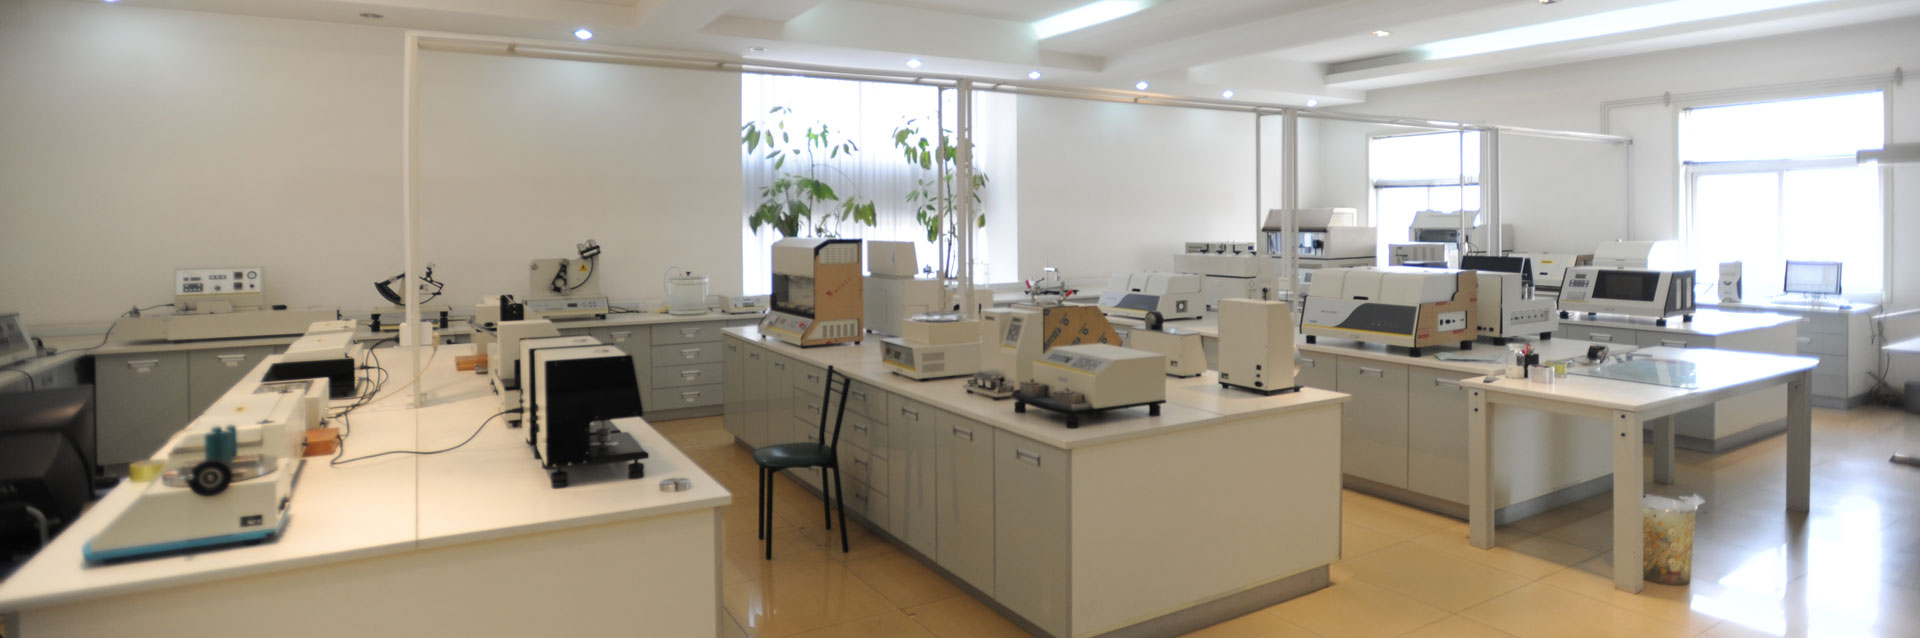
The testing instrument we used is Link Testing’s GTC-203H Gas Permeability Tester which adopts differential pressure method. In the tests, the specimen is mounted in a gas transmission cell so as to form a sealed semi-barrier between two chambers. One chamber contains the test gas at a specific high pressure, receives the permeating gas. The gas transmission rate of the test gas can be calculated according to the pressure change of the lower pressure chamber.
The specimens we tested are inner tubes made from butyl rubber, a kind of material that is low in air permeability. Before tests, certain number of specimens should be selected. The specimens should be flat and free of scratches, pinholes or other defects.
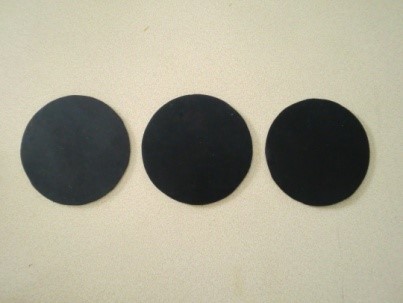
Figure 1. Inner Tube Specimens Made from Butyl Rubber
When all specimens are prepared, the tests can be performed according to the following procedures.
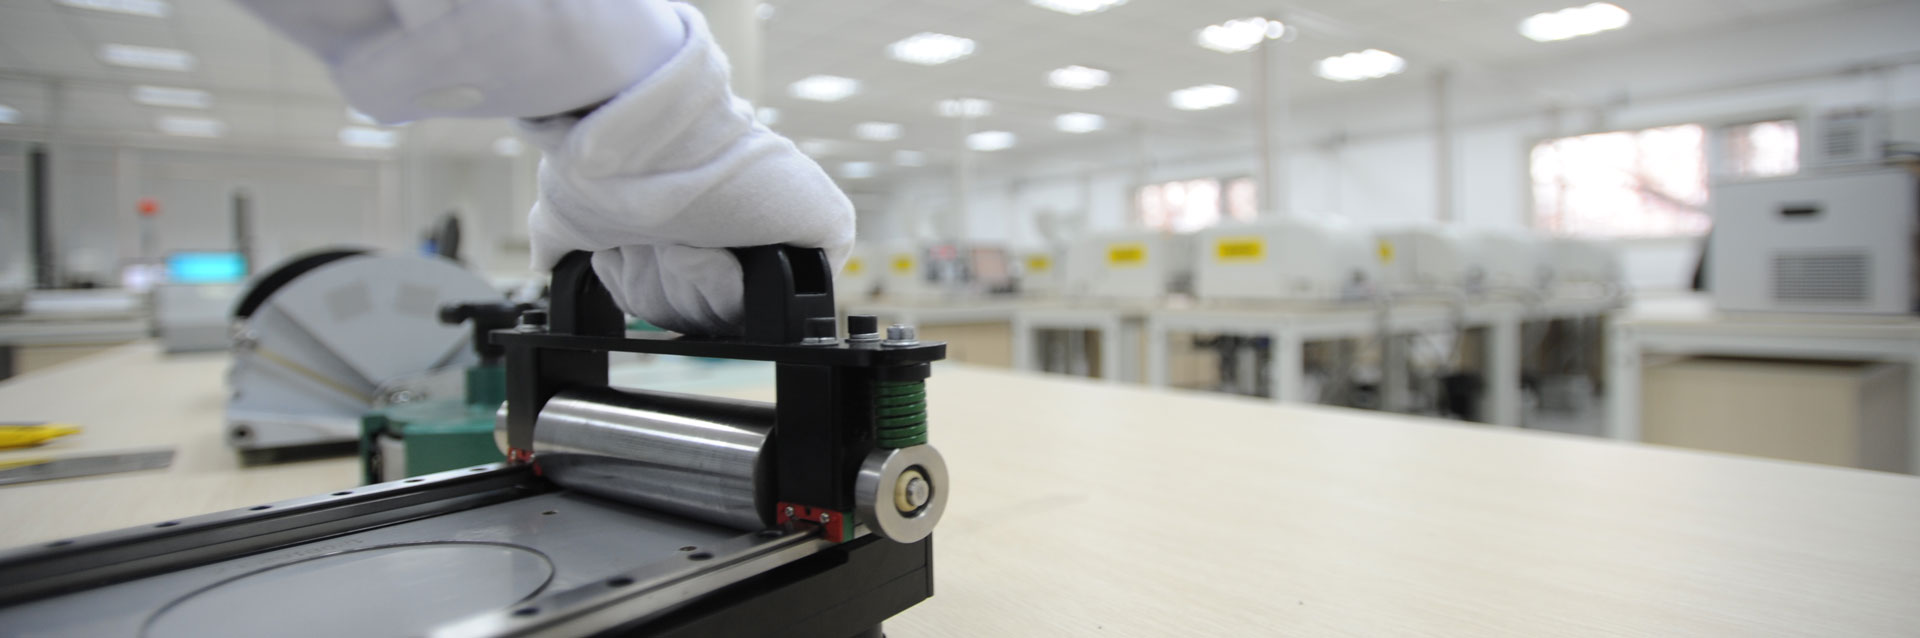
Step 1: Wipe the dust on the lower pressure chamber off with soft material. Apply a thin layer of vacuum grease on the surface of the lower pressure chamber. Put a piece of filter paper on the lower pressure chamber and then the specimen. The function of the filter paper is to support the specimen and meanwhile prevent the vacuum grease entering the lower pressure chamber.
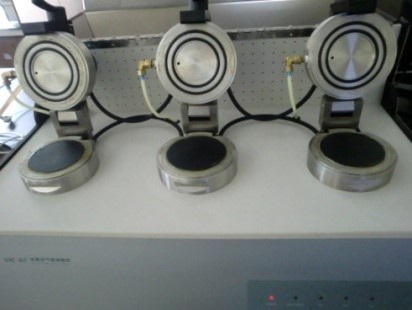
Figure 2. Mount Specimens
Step 2: Tighten the test cells. Set test parameters and then start tests.
The tests will be performed automatically and the test results will be given after the tests are finished.
For more details please visit www.linktesting.com